

Foamed gelatin
Gelatin is a very cheap material used
in food and sweets. It has been used in makeup since the 1920’s. Today latex allergies are on the
increase and the need for a safe product has also increased.
Gelatin is a
good candidate as everybody can have it on their skin.
Everybody except
vegans of course! They don't accept the use of it because it’s made from animal
bones and other left overs from animals.
I respect that and tried to find a
vegan solution but the stuff they use (Agar agar) instead didn't work.
So
sorry, but at least I tried. So please vegans and others that don't like this
please don't e-bomb me! I tried it but it didn't work and now I am just sharing
a old way of doing really cool stuff! You vegans head for the silicone pages
instead!!Some of the problems with gelatin
have been that it is hard to glue it on skin, the appliances have been too heavy
and putting melted gelatin straight onto skin may cause burns.
A lot of these problems are solved if
you foam the gelatin first.

Click on the picture to see the difference between foam and ordinary gelatin.The air in the foam makes it possible
for glue to dry under a piece, the pieces will be much lighter and you can put
it straight on the skin without burning you customer.Of course some problems remain!It’s much harder to get the edges to
be invisible because it’s a living material that keeps moving and they are not
as stable as foam rubber.
When you foam the gelatin it turns white making it
more difficult to paint realistically.
Foamed gelatine collapses after a few
days so you can't prepare pieces in advance. If you can live with these problems
then you should keep on reading. To be able to foam gelatin you must
first mix a gelatin base.
See the separate page
about this.
Foam
gelatin recipe
Take 100 gram of the
gelatin base.
Dissolve 1 teaspoon (5 ml) of
Tartaric acid (food stores) in 1 teaspoon (5 ml) sorbitol in a little
cup.
You should always stay away from using water because it evaporates
and makes the pieces less stable.
Let the mixture stand for at least a minute.
Melt the gelatin in a big plastic cup
(at least 5 dl so it won’t run over the edges later on).
In a microwave oven
100 g will melt in 30-60 seconds.
Once again be careful not to let it boil.
Stir down 1-6 teaspoons (5-30 ml)
of white school glue (ex. Elmers in the US) with a plastic spatula or
plastic spoon.
This type of glue is vinyl based and will help the bubbles
from breaking down.
This will make the gelatin to be more stable and not
collapse after cooling down.
The more glue you use the more stable it will
get but it will also get harder and less elastic.
You will have to experiment
to find a good mix for your purposes.
The reason why you should only use
plastic tools is that cold metal tools inhibit the foaming process.
Now add the tartaric acid mix and stir
quickly.
Now add 1 teaspoon (5 ml)
Bicarbonate (food stores) and again stir quickly.
Now magic is happening!
Let the mix
rise for a while without stirring it. 30 seconds usually works fine..
The gelatine is foaming because the
mix of tartaric acid and bicarbonate in combination with the heat produces
carbondioxid (the same gas as you exhale).
The foam now needs to be refined for
about a minute by slowly stirring before you use it in a mould or directly on
skin.
If it cools of to much during the process you can reheat it in the
microwave for a couple of seconds.
Putting it directly on the skin
Foamed gelatin is excellent for
making scars or burns on the skin or in the hair.
It is much easier to remove
from hair than you would think.
Use a plastic spatula or brush to apply it.
Test it on the back of your hand first so it’s not to hot!!
Most of the time you will not need any
glue if you apply it to clean skin.
I often clean it with a little bit of
alcohol first). Let it dry for a minute or so before applying any makeup (PAX or
grease paint) to it
Moulded pieces
The moulds should be prepared with
a small amount of Vaseline first.
Reheat the
gelatin before putting it into the negative moulds.
Put a weight on the
moulds to make the edges really thin.The moulds should now cool for at
least 30 minutes before you take them apart.
If your moulds are complicated you
can heat them to about 50-60 °C before putting the gelatine in.
This is done to
give you more working time before the gelatine starts to set.
Of course you will have to wait longer
before taking them apart if you do this.
When the appliances are out wash off the Vaseline with
some 96% isopropyl alcohol.
The appliances can now be glued on
with Pros Aide and the edges melted with Witch hazel.
Apply PAX paint over them
and finish them of with Ben Nye greasepaint.
The foamed gelatin (unused) is reusable a
couple of times just by melting it again in the microwave.
If the foaming
disappears you can add some more bicarbonate and tartaric acid.Reheating foamed gelatin is very
quick and a couple of seconds is often more than enough.
Remember that it is
still not allowed to let it boil! If you can’t get hold of the vinyl
medium you could try to use white school glue or wood glue.
They both have the
same base as the medium but don’t work quite as well making the pieces more
rigid and less flexible
.


Foam gelatin burns for TV series "The truth about Marika"

Direct applied foam gelatin over cheek and sideburn shaped as burn scar. Demo
makeup.
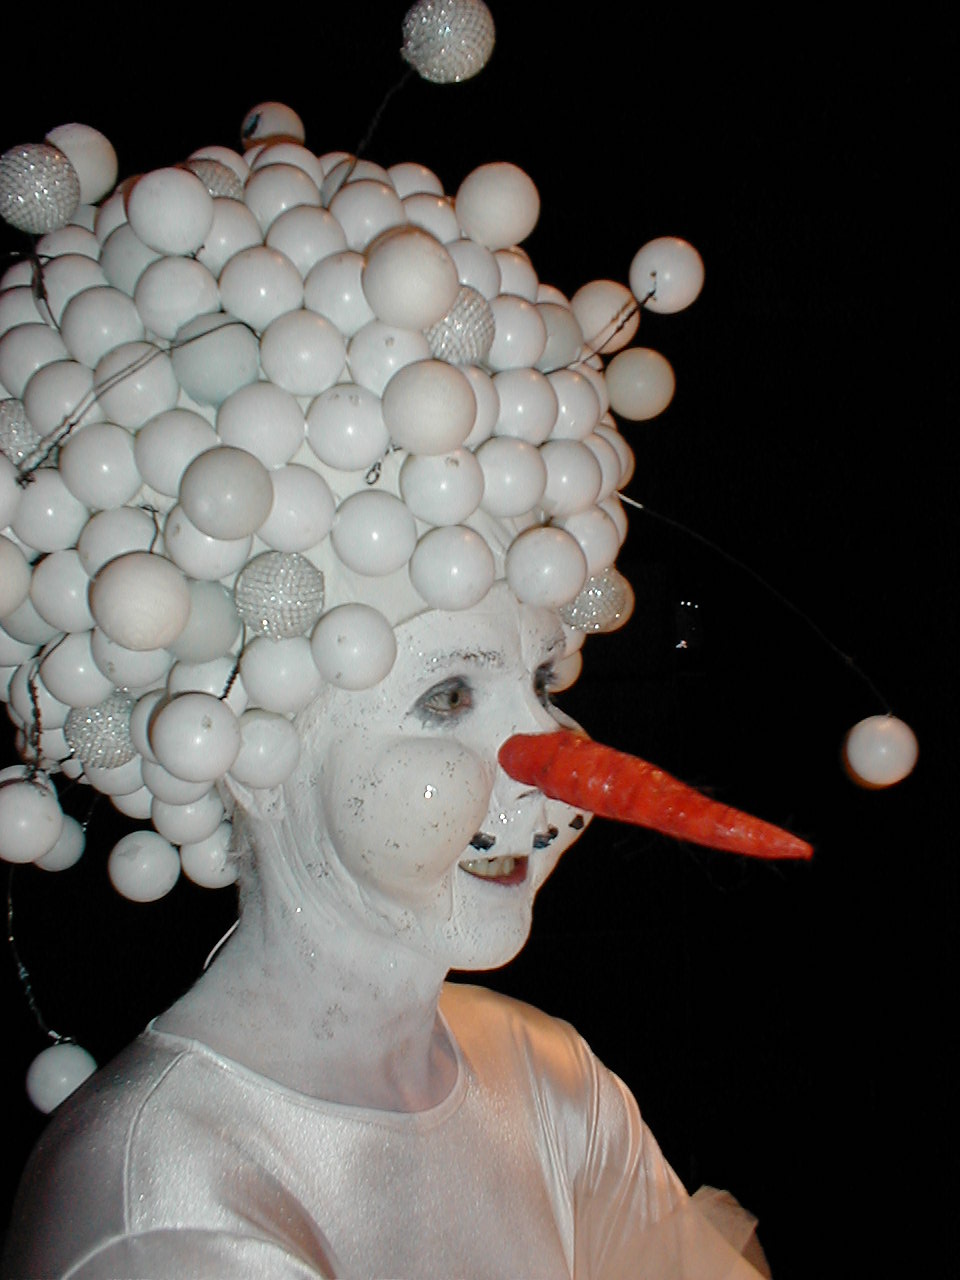

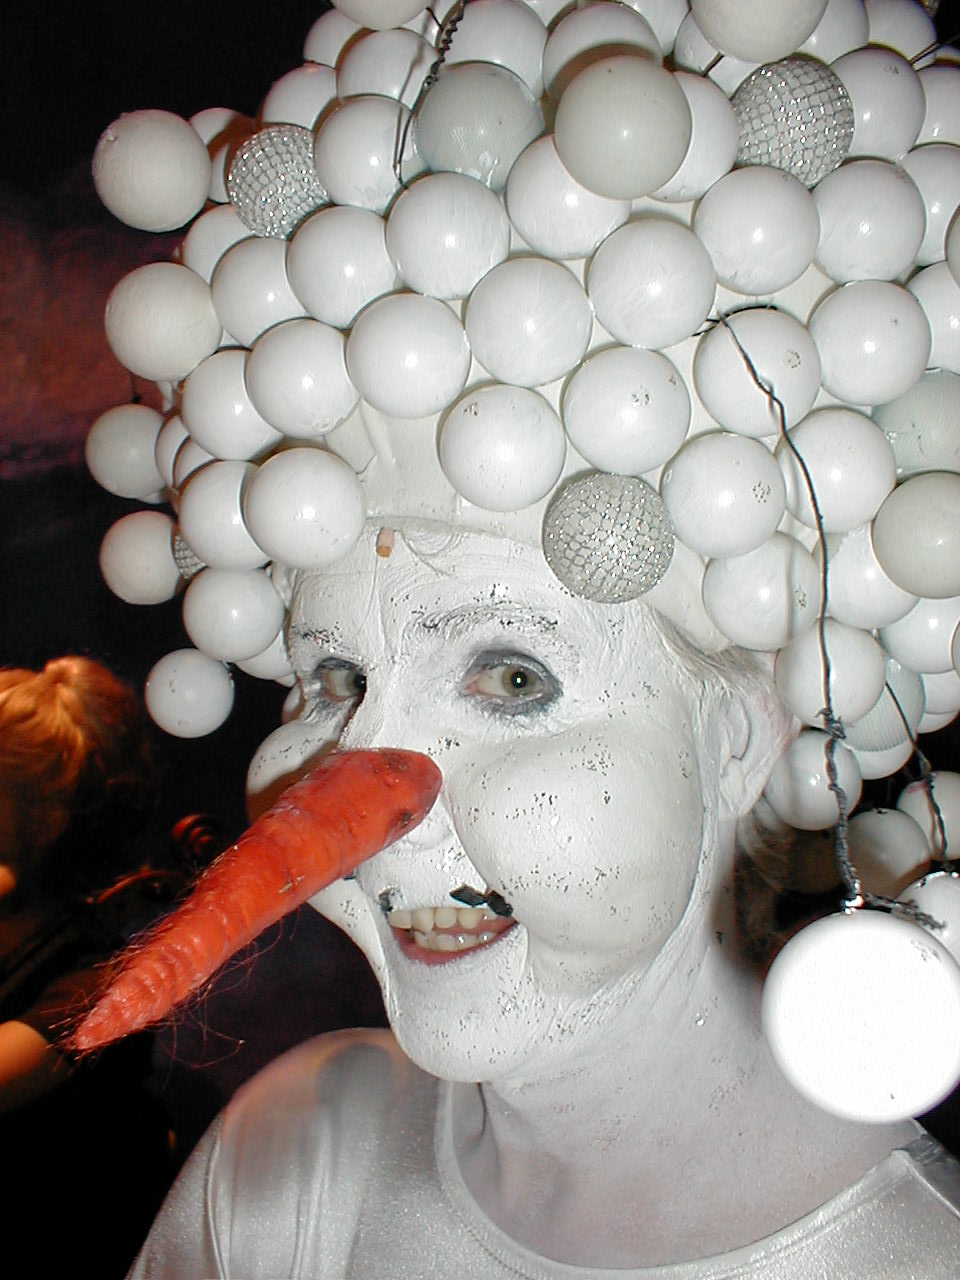
Peter Loguin as the Snowman in "The Doll Doctor" at the Gothenburg
Opera
Moulded foam gelatin cheeks.
All the information on this page is only to tell you how
it's done.
Always consult a professional before trying out things that might
be dangerous.
I do not stand responsible for any injuries or damages made.
This stuff can be very hot if you put it on the skin too soon. Please check
first!!